
If your Ubuntu system suddenly starts playing audio at unusually low volumes (even when everything appears set to maximum), you’re not alone. This is a surprisingly common issue that affects laptops and desktops across different Ubuntu versions and hardware configurations.
Low sound can result from incorrect output settings, outdated drivers, PulseAudio quirks, or even conflicts caused by dual-booting with Windows. Thankfully, most of these problems have simple and effective solutions that don’t require deep technical skills.
In this guide, you’ll walk through both GUI-based and terminal-friendly fixes. Whether you’re a regular desktop user or someone setting up Ubuntu on a new device, these steps will help you restore normal sound levels.
Get ready to make your system usable again for work, video calls, or entertainment.
Check Basic Sound Settings First
It’s smart to eliminate the basics before digging into configuration files or terminal commands. Often, the fix is just a few clicks away in the Sound settings panel.
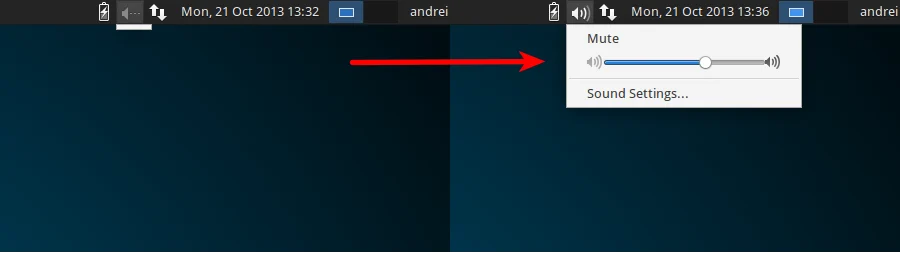
- Ensure volume Isn’t Muted: Click the volume icon on the top bar and drag it to 100%. Also, check that the Mute option isn’t selected.
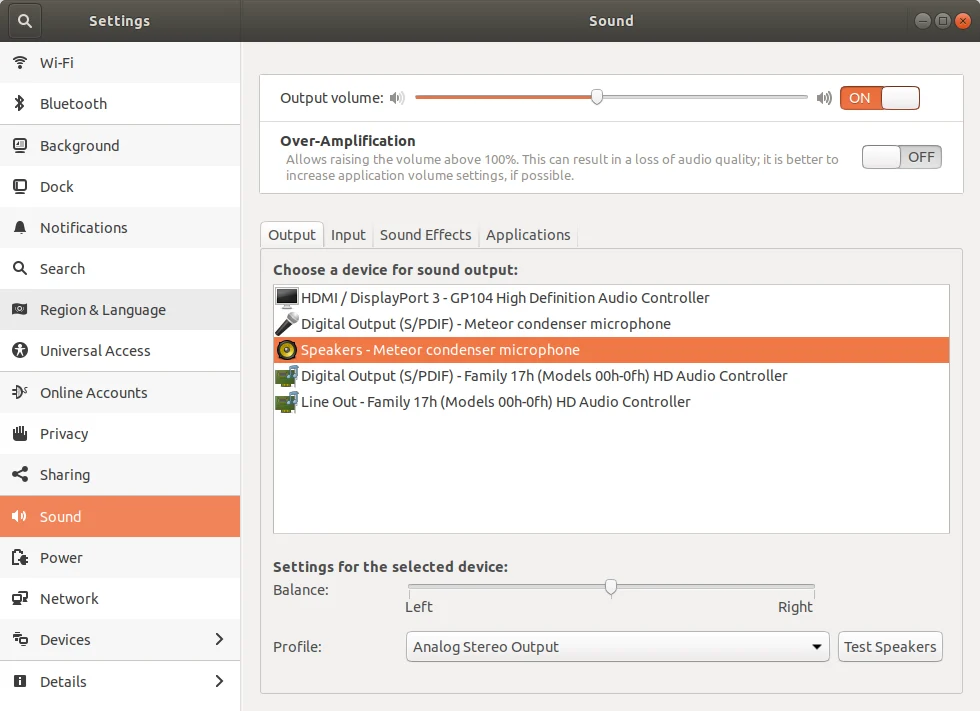
- Select the Correct Output Device: Go to Settings > Sound > Output and make sure the correct speaker, HDMI, or headphone output is selected.
- Use Function Keys: There are specific buttons on some laptops that can control the volume. Press them to see if the sound increases visibly on-screen.
- Test with Different Apps: Try playing audio from YouTube, a video player, and system sounds to identify if it’s app-specific.
- Unplug and Replug Audio Devices: Reconnecting your headphones or speakers often prompts Ubuntu to reset the output pathway.
Use PulseAudio Volume Control (pavucontrol)
PulseAudio is the default sound system for most Ubuntu installations. It manages volume levels across apps and devices. Sometimes, the GUI sound settings don’t reflect deeper issues. This is where PulseAudio Volume Control (pavucontrol) comes in handy.
You can install and use it easily:
- Install pavucontrol using Terminal:
sudo apt update
sudo apt install pavucontrol - Open it from the app menu after installation.
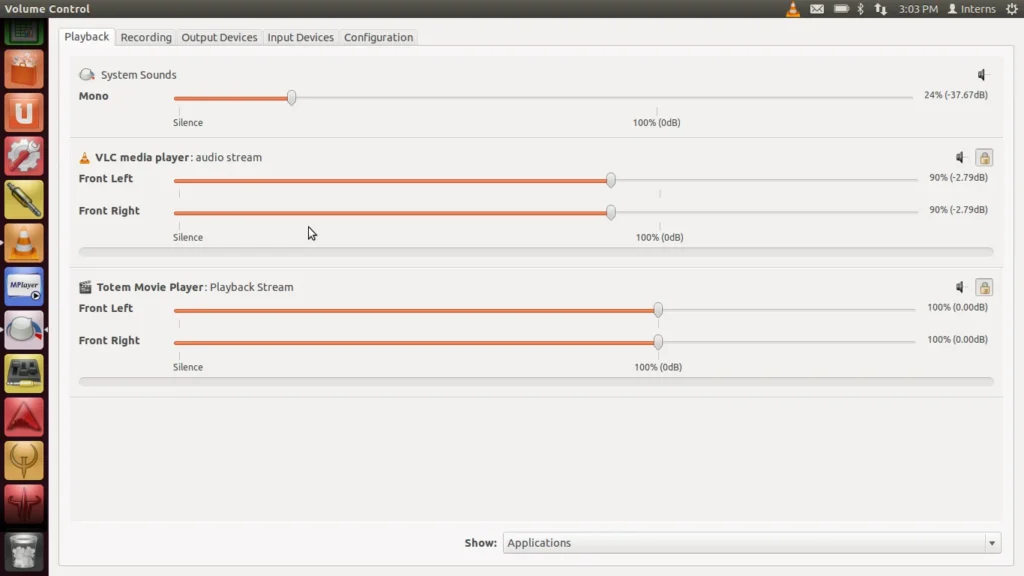
- Under the ‘Playback‘ tab, you can raise the volume for individual apps and check whether audio is being routed correctly.
- Switch to the ‘Output Devices‘ tab to verify the correct output is set and ensure the volume slider isn’t capped below 100%.
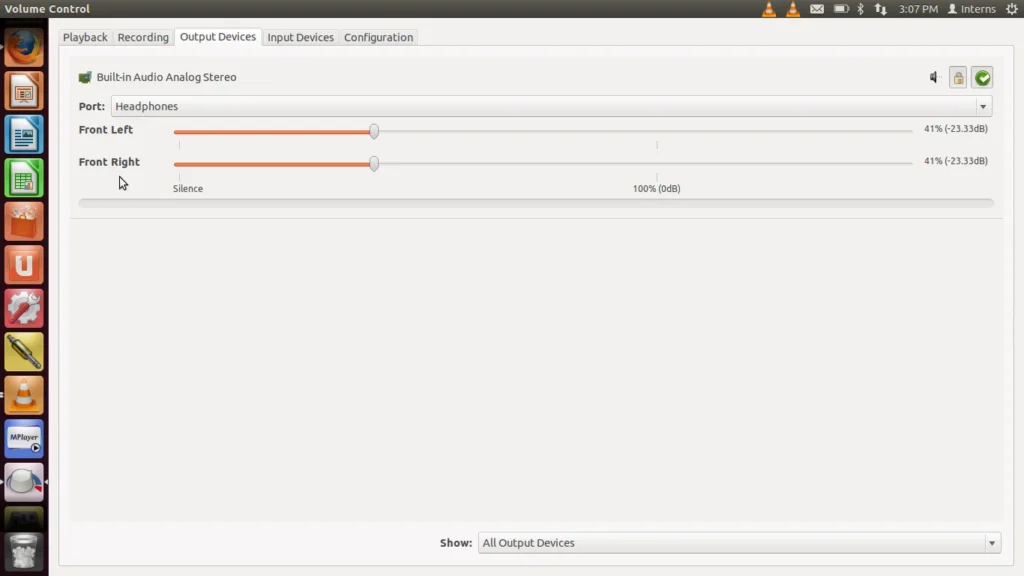
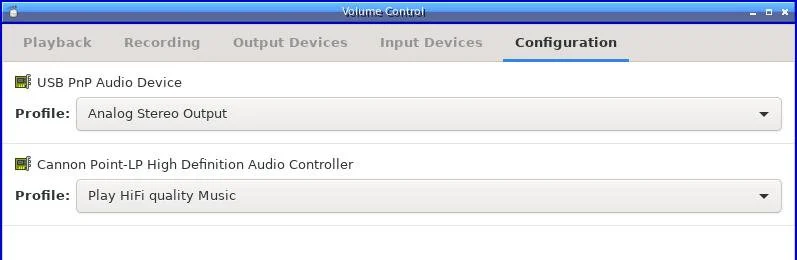
- Under ‘Configuration‘, you can change profiles like Analog Stereo Output or HDMI depending on what you’re using.
What makes pavucontrol particularly useful is its per-app control. If, for example, your browser audio is barely audible but your video player sounds fine, you can boost the browser volume independently.
It’s also great for diagnosing when apps are sending sound to the wrong device or when your HDMI audio cuts out randomly. With a bit of testing, pavucontrol often brings clarity (literally and figuratively) to Ubuntu’s audio ecosystem.
Update or Reinstall Audio Drivers
Outdated or broken audio drivers can lead to low or distorted sound on Ubuntu. Thankfully, updating or reinstalling them is straightforward.
Start by refreshing your system:
- Open Terminal and run: sudo apt update && sudo apt upgrade
It ensures you’re on the latest stable release of all packages, including sound-related ones.
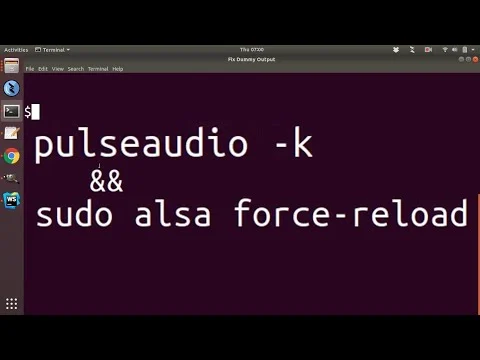
If sound remains weak, try restarting PulseAudio and forcing ALSA to reload:
- Restart PulseAudio: pulseaudio -k
- Reload ALSA: sudo alsa force-reload
Afterward, reboot your system and test the audio again. It often helps reset audio modules that aren’t initializing properly.
If you recently upgraded Ubuntu or installed it fresh, these commands can fix conflicts between the system and your hardware. Always test with headphones and speakers separately. Some sound cards behave differently depending on the output used.
Tweak ALSA Configuration
ALSA (Advanced Linux Sound Architecture) is the underlying audio framework beneath PulseAudio. When PulseAudio adjustments fail, tweaking ALSA can help improve volume output and quality.
A common fix involves editing the PulseAudio daemon configuration file:
- Open Terminal and run: sudo nano /etc/pulse/daemon.conf
- Find or add these lines:
ini
flat-volumes = no
default-sample-format = s16le
default-sample-rate = 44100
- Save and exit (Ctrl+O, Enter, Ctrl+X)
Now, restart PulseAudio to apply changes:
- pulseaudio -k
- Then log out and back in or reboot.
Another method is to override system defaults using .asoundrc in your home directory. This file lets you define how ALSA handles sound routing.
Example .asoundrc template:
go
pcm.!default {
type hw
card 0
}
ctl.!default {
type hw
card 0
}
This forces ALSA to use your first detected audio card. If you have multiple cards, run aplay -l to identify them and change the card number accordingly.
These tweaks are more advanced but effective for persistent low sound issues tied to audio routing and system defaults.
Fix Issues in Dual-Boot (Especially Windows + Ubuntu)
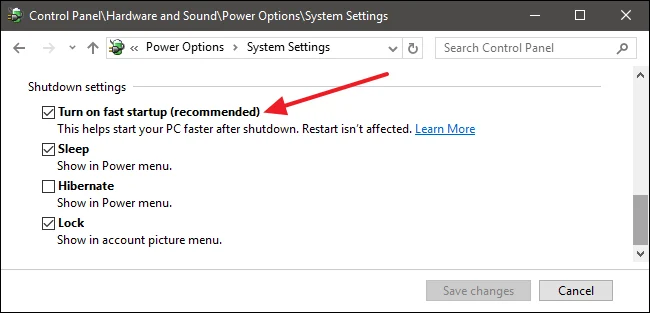
If you’re dual-booting Ubuntu with Windows, sound problems might stem from how Windows handles the hardware state, especially when fast startup is enabled.
When fast startup is active, Windows doesn’t fully shut down, leaving some hardware in a suspended state. It can interfere with audio initialization in Ubuntu.
To fix this:
- Boot into Windows
- Go to Control Panel > Power Options > Choose what the power buttons do
- Disable “Fast Startup“
Also, avoid hibernating or sleep mode before switching between systems.
Once back in Ubuntu, reset ALSA and PulseAudio as mentioned earlier.
Dual-boot setups commonly face this issue, and disabling fast startup often resolves volume dropouts, unrecognized audio devices, or extremely low output from Ubuntu.
Try Using PipeWire Instead of PulseAudio
If PulseAudio isn’t solving your issue, switching to PipeWire might be a smart move. PipeWire is a modern audio system that’s gradually replacing PulseAudio in many Linux distributions due to its superior performance and compatibility.
It offers lower latency, better Bluetooth support, and often resolves persistent audio bugs. Here’s how to install and enable it:
- First, install PipeWire and its audio components: sudo apt install pipewire pipewire-audio-client-libraries
- Then, enable it:
systemctl –user enable pipewire
systemctl –user start pipewire
You may also want to disable PulseAudio services manually or reboot after installation to avoid conflicts.
Once PipeWire is running, revisit your sound settings or pavucontrol to test the volume output. Many users report immediate improvement after switching, especially on newer laptops or hybrid setups where PulseAudio struggled to manage devices.
External Hardware and Compatibility Checks
If the software side looks good but the sound is still low, check the hardware next.
- Test your Ubuntu system with another set of headphones or speakers.
- Plug into a different audio jack if available.
- If you’re using USB or Bluetooth audio, try analog alternatives.
Some laptops or desktops ship with audio chipsets that are only partially supported in Linux. You can run aplay -l to see recognized sound devices and cross-reference them with Ubuntu’s hardware compatibility list.
If needed, consider using a basic USB audio adapter. They’re plug-and-play and often bypass internal audio issues entirely.
GUI-Based Tools and Community Scripts
Not comfortable editing configuration files? Ubuntu’s vibrant community offers a few GUI-based tools and pre-written scripts that can help.
- PulseEffects: A graphical equalizer that allows fine-tuned audio boosting
- Ubuntu Tweak Tool: Offers some helpful audio toggles and preferences
- Community scripts on GitHub or AskUbuntu: Some scripts automatically reset and optimize your audio stack
You can also search for curated fix threads on forums tailored to your hardware model. These tools save time and reduce the trial-and-error nature of terminal commands, especially for users newer to Linux.
Conclusion
Low volume on Ubuntu might seem like a hardware flaw at first, but it’s often a fixable software configuration issue. From simple GUI tweaks to replacing PulseAudio with PipeWire, this guide has walked you through a full range of solutions.
Always start with the basics (volume settings, correct output device, or app-specific sliders) before diving deeper. If you’re using newer hardware or dual-booting, a more advanced fix like driver updates or sound system replacement might be necessary.
With a bit of patience and the right tools, you can get your Ubuntu system sounding crisp and clear again, without needing to switch operating systems or call in a technician.
