
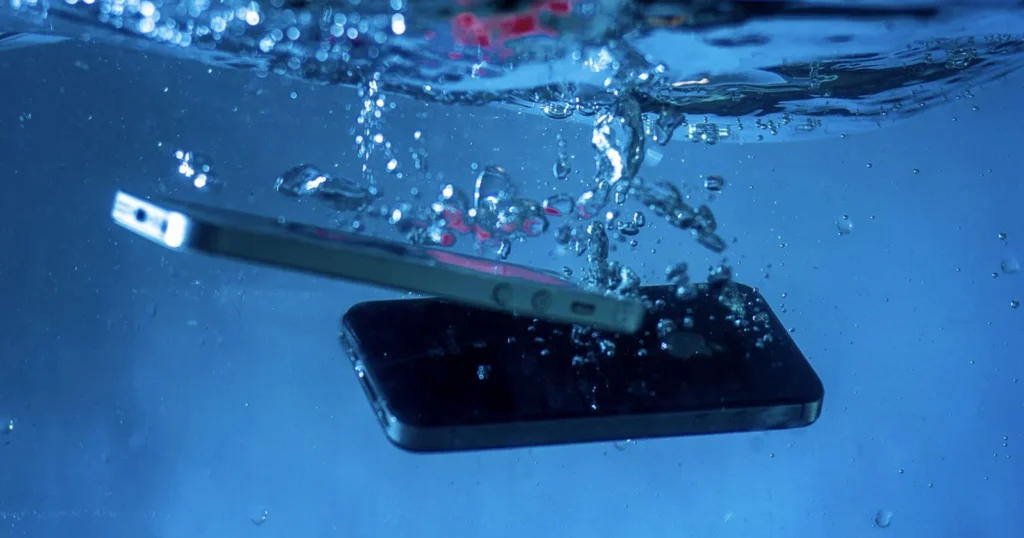
Your iPhone may have survived a splash or even a dunk, but that doesn’t mean it’s in the clear. Despite being advertised as water-resistant, iPhones can still suffer from moisture getting trapped in the speaker or Lightning port, which can mess with sound and charging.
Whether you’ve been caught in the rain or your phone took a dive into the sink, knowing how to react can save your device.
This guide will go over safe, practical ways to eject water from your iPhone and avoid common mistakes that make things worse.
You don’t need a bag of rice or a panic attack; just a few smart steps. Let’s start by understanding how water resistance actually works on iPhones.
Understanding Water Resistance on iPhones
iPhones have varying degrees of water resistance depending on the model. Devices like the iPhone 12 and later are rated IP68, which means they can withstand submersion in up to 6 meters of water for up to 30 minutes.
Older models like the iPhone 7 through iPhone 11 typically have an IP67 rating, covering shallower depths.
However, water resistance is not the same as waterproofing. The rating is based on controlled lab conditions. Real-life exposure to saltwater, soapy water, or high pressure often exceeds those limits.
Also, water resistance can degrade over time due to wear and tear or accidental drops. So, just because your phone has a rating doesn’t mean it’s safe in the pool or shower. That’s why taking immediate action after water exposure is still essential.
What to Do Immediately After Water Exposure
If your iPhone gets wet, your first move should be to turn it off. It will help prevent short circuits and internal corrosion. Don’t plug it in or try charging it. That’s one of the fastest ways to cause permanent damage.
Next, gently dry the exterior with a lint-free cloth. Avoid using a hairdryer or inserting anything into the charging port or speaker grill. Shaking the phone to “fling” water out might seem clever, but it could push the moisture deeper inside.

Instead, keep the phone upright with the speaker facing down to allow gravity to help. If water is in the speaker, wait before using it again, even if the phone powers on. The goal is to reduce internal damage by avoiding any sudden interference or power surges.
Use Apple’s Built-in Water Ejection Shortcut (via Siri Shortcut)
While iPhones don’t come with a native water-ejection tool like some smartwatches, you can add one using the Siri Shortcuts app. This shortcut plays a specific low-frequency sound designed to push water out of your phone’s speaker, similar to what Apple Watch does.
To set it up, open the Shortcuts app and search online for a trusted “Water Eject” Siri Shortcut (you’ll find several on sites like RoutineHub). Tap to add it to your library and allow the necessary permissions. Once added, you can activate it by saying, “Hey Siri, Water Eject.”

The sound plays for a few seconds and physically vibrates the speaker, helping expel trapped moisture. While not officially supported by Apple, many users find it surprisingly effective. Use it once or twice, then give your phone some time to rest before trying audio again.
This method is safe, simple, and doesn’t require any third-party apps. Think of it as your emergency eject button, minus the drama.
Alternative Sound-Based Water Ejection Methods
If you don’t want to use a Siri Shortcut, there are websites and apps that serve the same purpose. Sites like FixMySpeakers.com and OnlineToneGenerator.com play high- or low-frequency sounds that push water out of your speaker through vibration.

Just open the site on Safari, press play, and hold your iPhone speaker down. You may see water droplets surface or hear distortion fade as the sound clears moisture. Some apps even offer custom frequency sliders for more control.
These tools are especially helpful if you don’t use Siri or want a quick option with no downloads required. However, always keep the volume at a safe level and avoid continuous use.
Manual Drying Tips for the Port and Speaker Area
After using a sound-based method, finish the job with some careful manual drying. Hold the phone upright with the speaker and Lightning port facing down.
Use a soft, lint-free cloth to dab the openings. Never insert cotton swabs or tissues, which can leave debris. A clean makeup brush or a soft-bristled toothbrush can help clear dust and lingering moisture gently.
Let the phone air-dry for a few hours before testing again. Patience often pays off more than aggressive cleaning.
Using Silica Gel or Desiccants (Not Rice)
If your iPhone took a dunk, skip the rice myth and go for silica gel or commercial desiccants. These are far more effective at safely absorbing moisture.
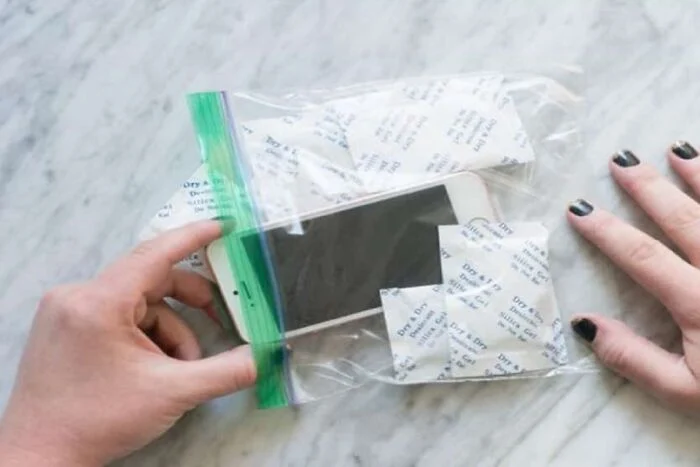
Place your iPhone in an airtight container with several silica gel packets or a desiccant pouch for at least 24–48 hours. Avoid turning the phone on during this time. The goal is to let the drying happen gradually and evenly.
This method is safe, mess-free, and doesn’t risk clogging your ports like rice can.
How to Know If Water Is Still Inside
Even after drying, your phone might still have trapped moisture. Common signs include muffled audio, distorted sound, foggy camera lenses, or speaker crackling.
Try playing audio at full volume; if it sounds faint or distorted, there’s a good chance some moisture remains. You can also test voice memos or calls.
If issues persist after several drying methods, it’s best to assume water is still hiding somewhere inside.
When to Seek Professional Help
If your phone’s audio doesn’t improve after all DIY attempts, or new issues appear (like screen glitches or charging problems), consult a repair technician.
Apple Stores and authorized service centers have diagnostic tools to check for hidden damage. They can also safely open your phone, clean internal components, and replace affected parts.
It’s better to spend a little on repairs than risk a full phone failure later.
Prevention Tips for the Future
Invest in a waterproof phone case, especially if you frequently spend time around pools, sinks, or the great outdoors.
Avoid using your phone in the rain or near water-intensive tasks like dishwashing. Also, keep your Lightning port clean to prevent water buildup or slow charging after exposure.
Finally, get into the habit of backing up your data regularly, just in case water wins the battle someday.
Conclusion
Water exposure doesn’t always mean disaster for your iPhone, especially if you act quickly and smartly. From sound-based ejection to silica gel, simple steps can make a big difference.
And if you’re ever unsure, let the pros handle it. For more detailed guides on drying out your device or dealing with speaker damage, check out our other blogs!
